 Photos At Last Back to website
Photo organization guide
How to Install Photos At Last Agent on a Synology NAS
Install Photos At Last Agent 0.6.1 on Synology DSM 7.2 using Container Manager, configure folder permissions, and connect the desktop app.
This walkthrough installs Photos At Last Agent 0.6.1 on a Synology NAS with Container Manager. The agent processes photos on the NAS; the desktop app connects to it over your local network. The instructions below are for Synology DSM 7.2 or newer, not a generic QNAP setup. The agent is optional and is available with both Free and Early Access.
Before you begin
You need:
- A Synology NAS with an Intel or AMD (
x86_64) processor and DSM 7.2 or newer. - Container Manager installed from DSM Package Center.
- The
Photos-At-Last-Agent-0.6.1-amd64.zippackage, available from the download page. - A Mac or Windows computer running Photos At Last on the same trusted local network.
- A backup of important photos before allowing any file moves.
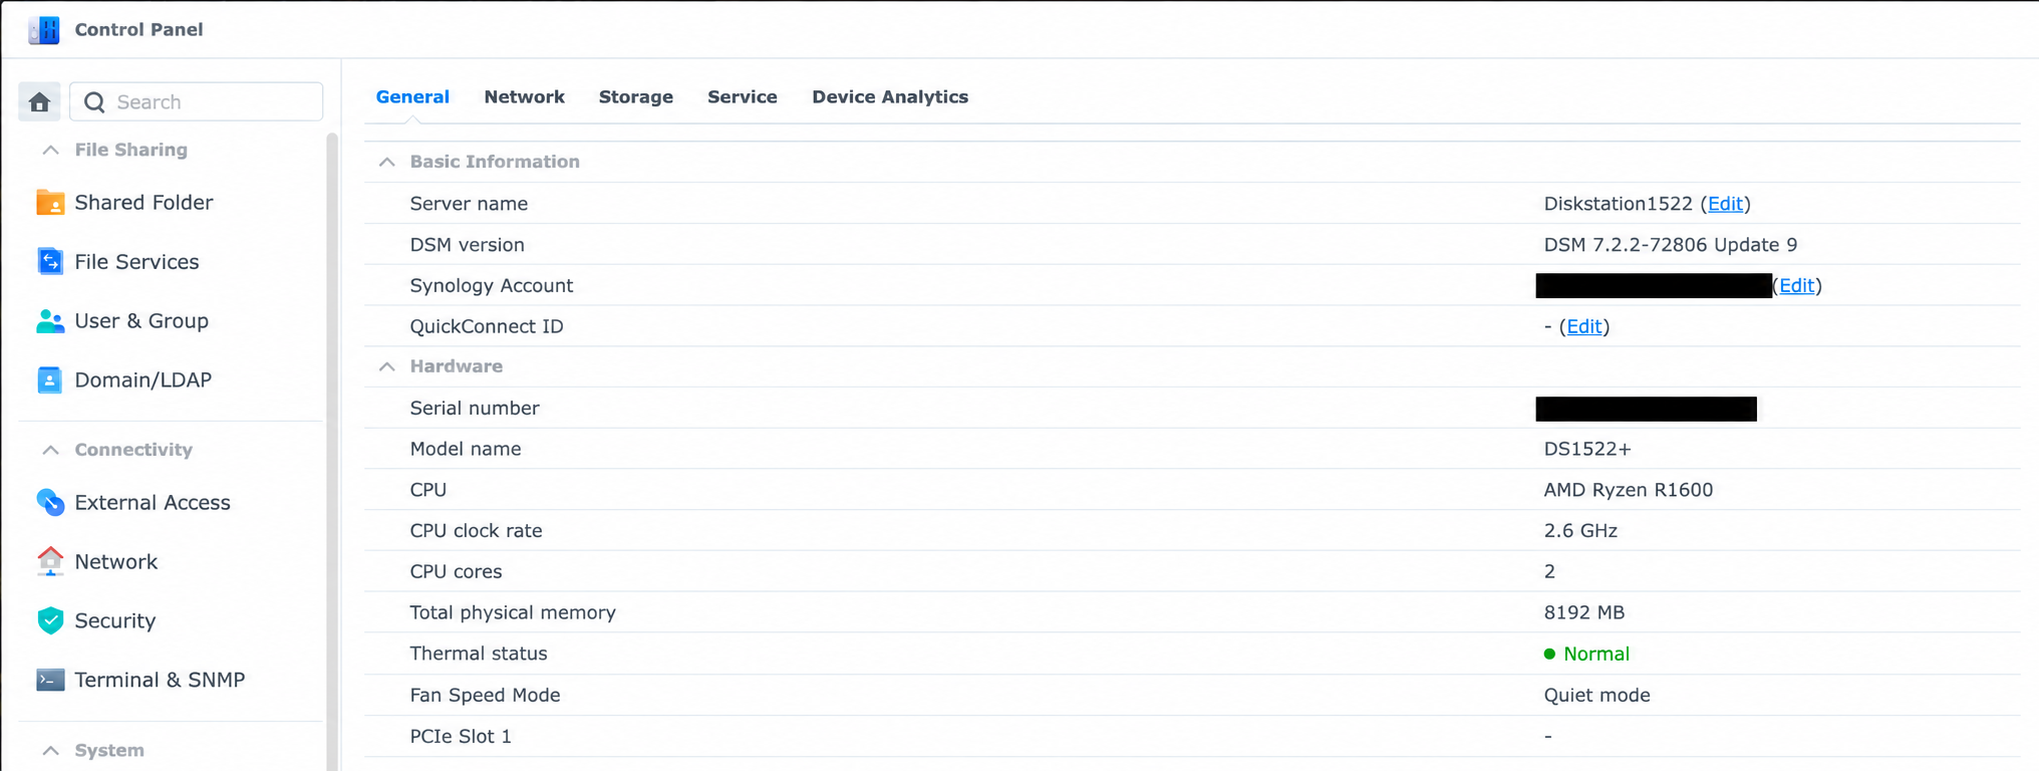
This package does not support ARM-based Synology models. If SSH is enabled, check the NAS processor with:
uname -mContinue only if it returns x86_64. You can also check the processor in DSM’s system information. Do not forward the agent’s port from your internet router.
1. Import the Docker image
- Extract
Photos-At-Last-Agent-0.6.1-amd64.zipon your computer. - Open Container Manager in DSM. If it is not installed, install it from Package Center first.
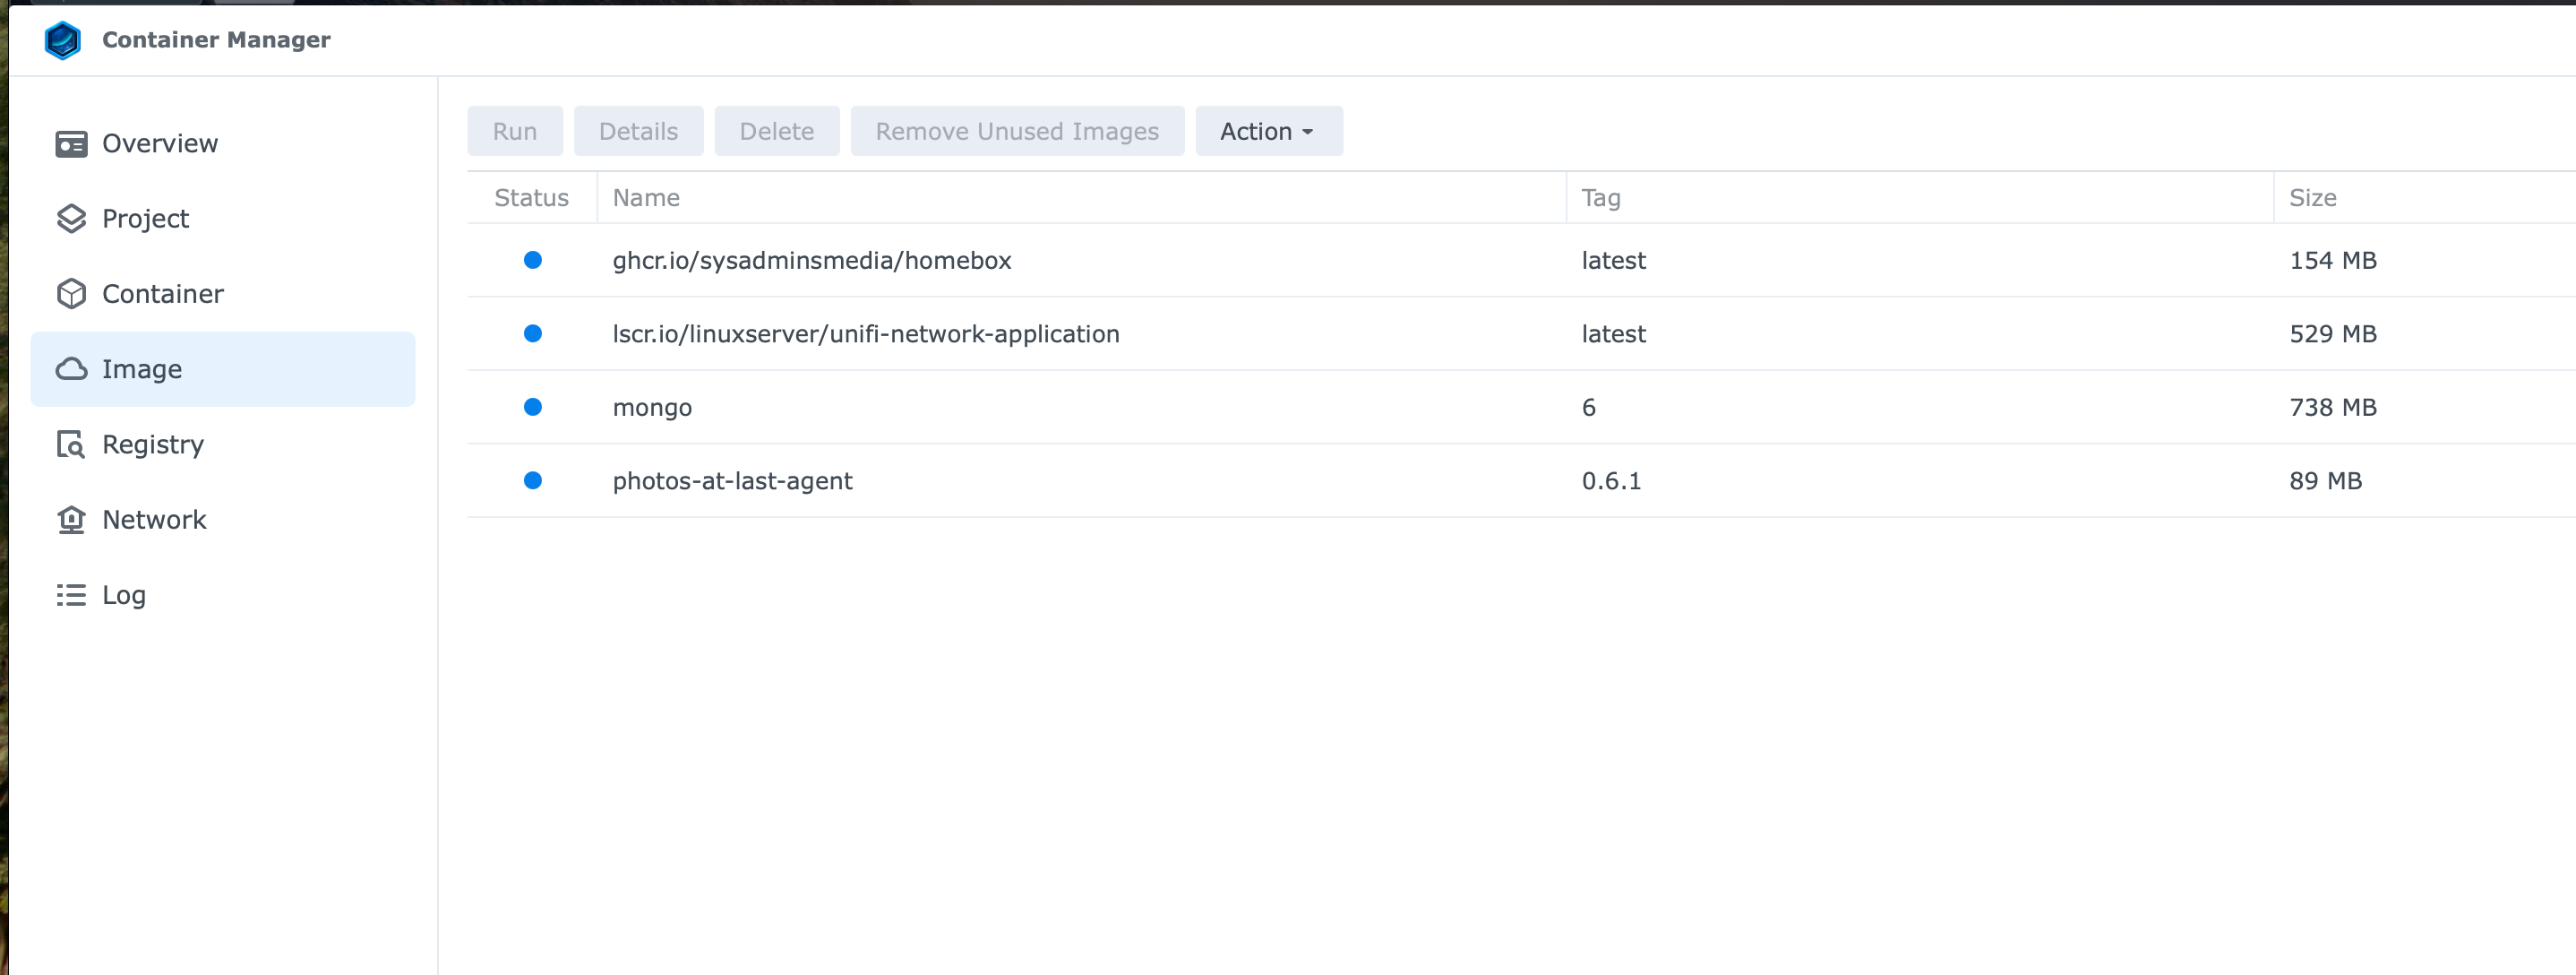
- Open Image and choose Action → Import → Add from file.
- Select
photos-at-last-agent-0.6.1-amd64.tarfrom the extracted package. Import the.tarfile, not the outer ZIP. - Wait until
photos-at-last-agent:0.6.1appears in the image list.
Check: The image and its 0.6.1 tag are visible in Container Manager before you create a Project.
0.6.1.2. Prepare folders and a dedicated DSM user
Decide which Synology shared folders contain your source media and target library. This example uses /volume1/photo as the target and /volume1/photo-inbox as a source. Substitute the actual paths on your NAS.
Create a persistent folder for the agent at /volume1/docker/photos-at-last-agent (or adapt the path consistently in the YAML below). The agent stores target indexes and license status under its cache subdirectory. Do not delete this folder when updating the container.
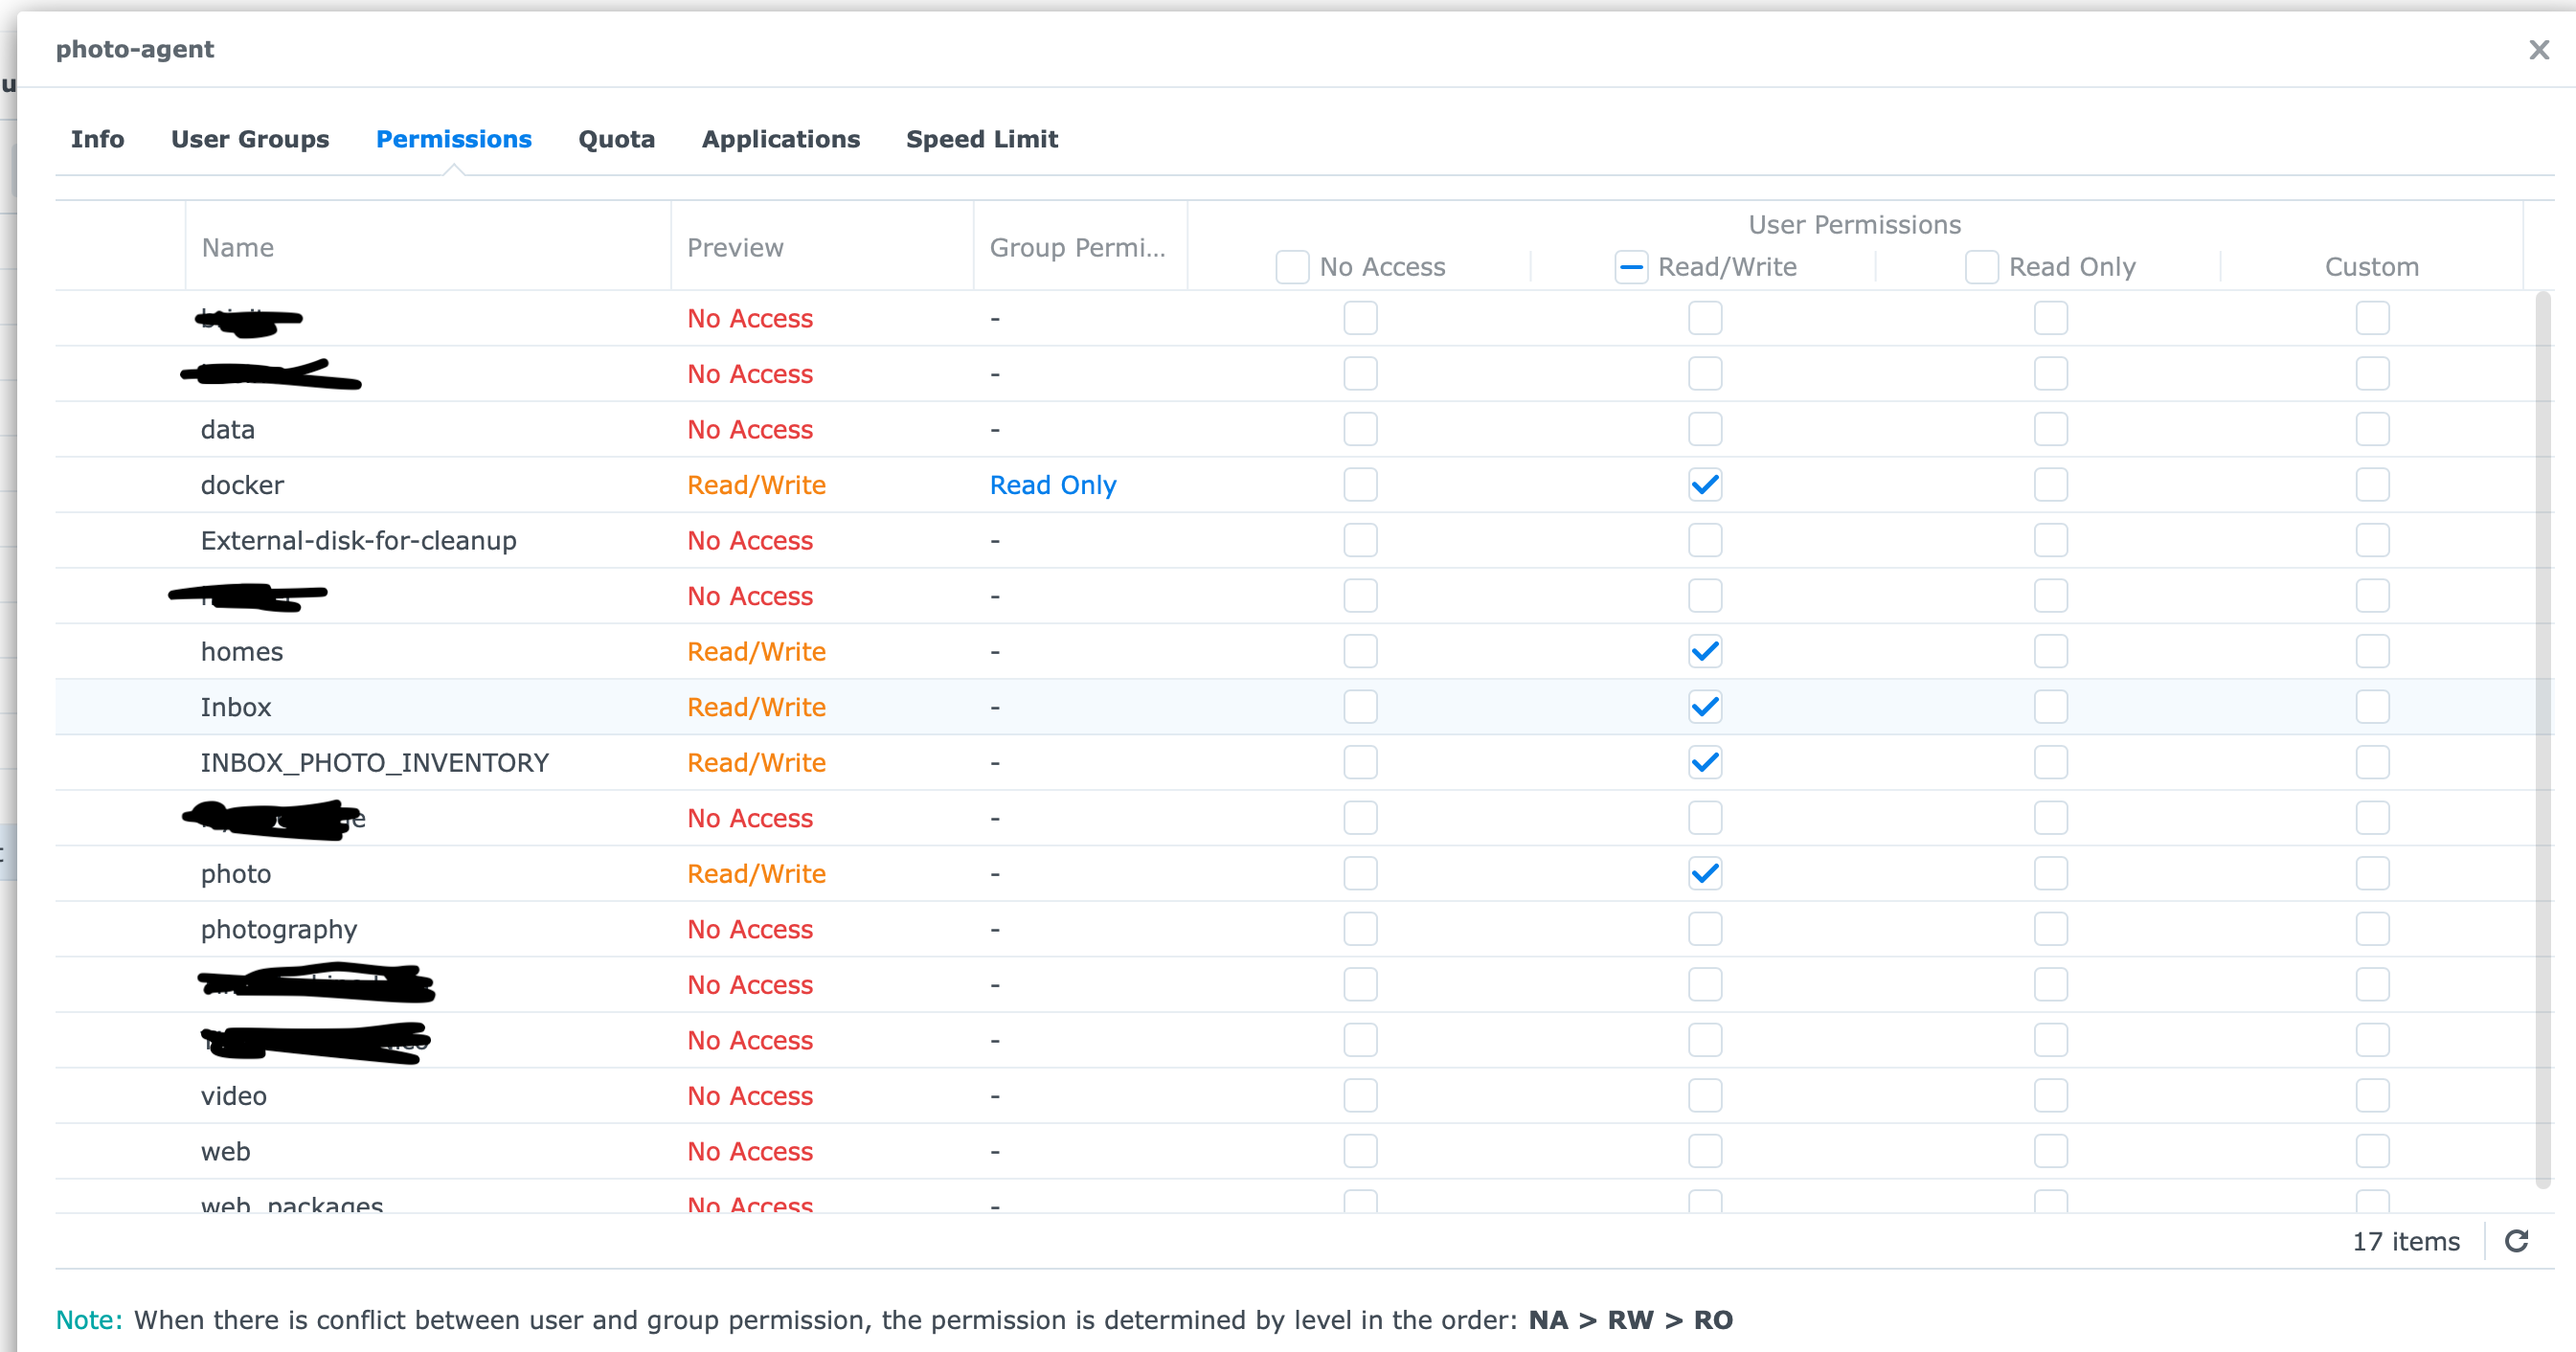
Create a dedicated DSM user for the agent and give it read/write access to the source folder, target folder, and persistent agent folder. File moves may require write access to the source as well as the target. Keep access limited to the folders the agent needs.
With SSH enabled, find that user’s numeric IDs:
id YOUR_DSM_AGENT_USERFor example, uid=1036(...) gid=100(...) means you would use 1036:100 for user: in the YAML. Use your NAS’s values; these numbers are only an example.
Check: The three host folders exist, the dedicated user can access them, and you have written down that user’s UID and GID.
3. Generate an API token
The desktop app uses an API token to authenticate with the agent. On macOS or Linux, generate a strong random token:
openssl rand -hex 32Save the resulting token privately. You will enter the same value in the Synology Project and the desktop app. Do not post it in a screenshot or support request. The Project YAML stores the token as a configuration value, so restrict access to the Project and NAS administrator account.
4. Create the Container Manager Project
- Open Container Manager → Project → Create.
- Set the project name to
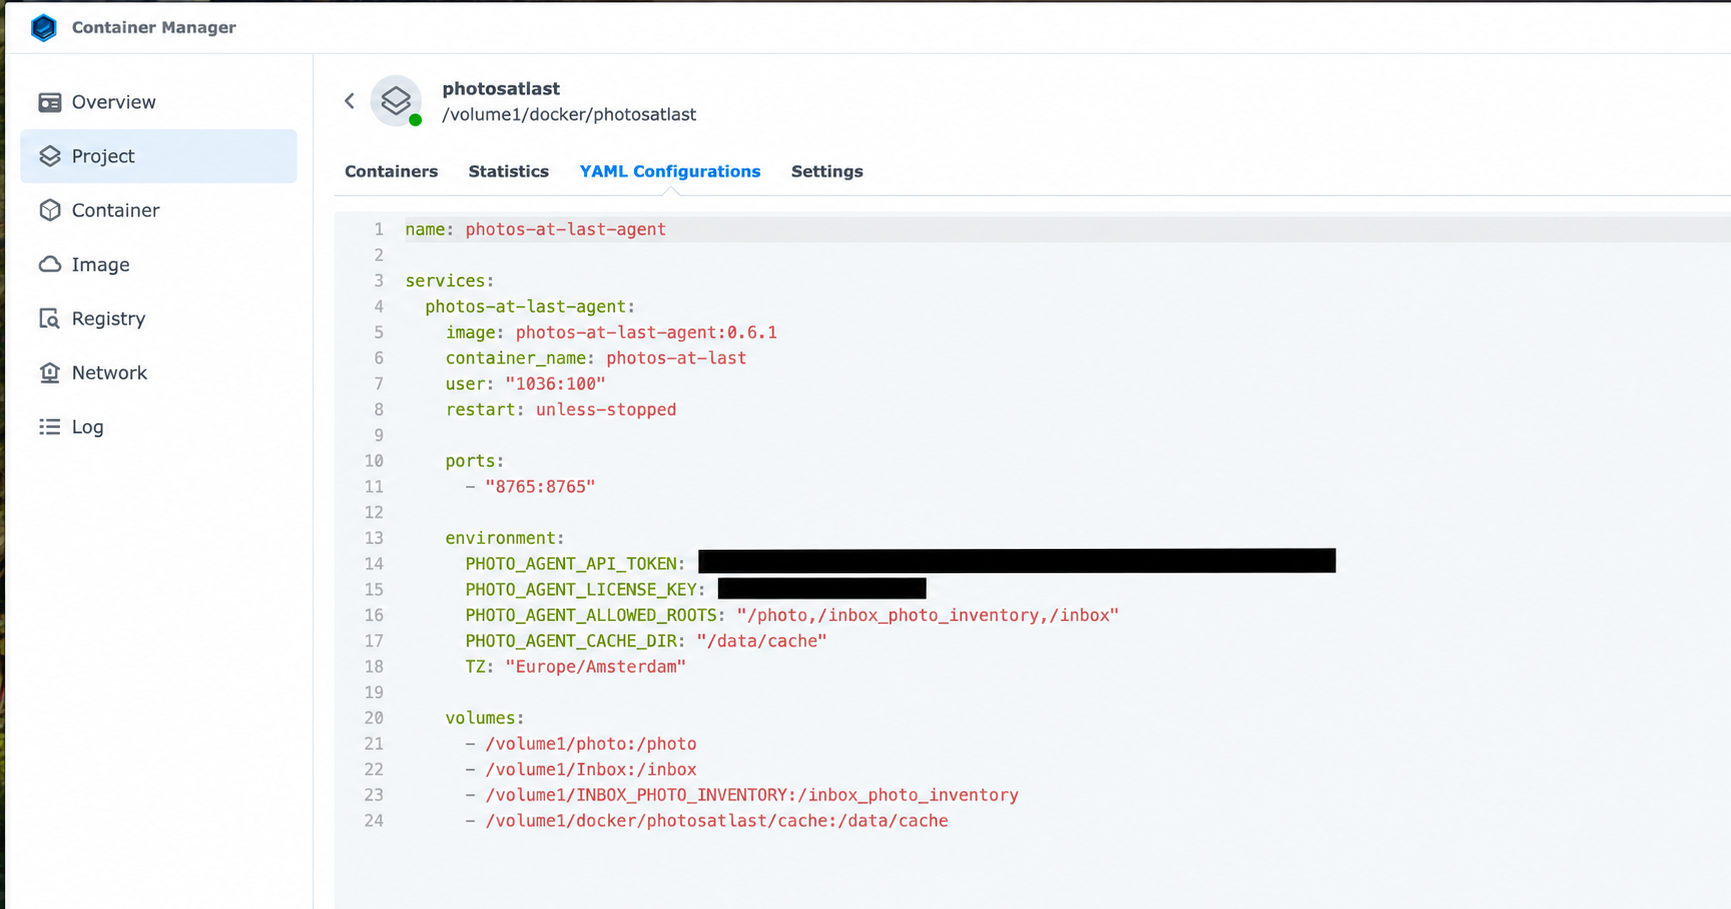
photos-at-last-agentand the project path to/volume1/docker/photos-at-last-agent. - Choose to create the Project using YAML.
- Paste the configuration below, then replace the example values described after it.
name: photos-at-last-agent
services:
  photos-at-last-agent:
    image: photos-at-last-agent:0.6.1
    container_name: photos-at-last-agent
    user: "1036:100"
    restart: unless-stopped
    ports:
      - "8765:8765"
    environment:
      PHOTO_AGENT_API_TOKEN: "REPLACE_WITH_YOUR_RANDOM_API_TOKEN"
      PHOTO_AGENT_ALLOWED_ROOTS: "/photos,/inbox"
      PHOTO_AGENT_CACHE_DIR: "/data/cache"
      TZ: "Europe/Amsterdam"
      # PHOTO_AGENT_LICENSE_KEY: "PASTE_YOUR_PHOTOS_AT_LAST_LICENSE_KEY"
    volumes:
      - /volume1/photo:/photos
      - /volume1/photo-inbox:/inbox
      - /volume1/docker/photos-at-last-agent:/data
Before starting, make these changes:
- Replace
1036:100with the UID:GID of your dedicated DSM user. - Replace
REPLACE_WITH_YOUR_RANDOM_API_TOKENwith the token from step 3. - Change the host paths before each
:involumes:to match your NAS. The container paths after each:—/photos,/inbox, and/data—are the paths the agent sees. - Keep every selectable media root in
PHOTO_AGENT_ALLOWED_ROOTS. If you change/photosor/inboxinvolumes:, update the allowed roots too. - Change
TZto your timezone if needed. For Unlimited, uncommentPHOTO_AGENT_LICENSE_KEYand enter your license key; leave it commented out for Free.
Do not add a build: section. The Project must use the image imported in step 1. Review the paths and token before creating the Project.
Check: The imported image tag, UID:GID, token, allowed roots, and all three volume paths match your NAS.
5. Start the Project and check the health endpoint
- Build/start the Project in Container Manager. Its container should become Running.
- Open Container Manager → Container → photos-at-last-agent → Log and check for errors.
- From a computer on the same local network, open:
http://YOUR_NAS_IP:8765/healthThe expected response is:
{"status":"ok"}If DSM Firewall is enabled, allow TCP port 8765 from your local network only. Never forward this port through your internet router or expose the agent directly to the public internet. A /data/cache permission error means the dedicated DSM user needs read/write access to the persistent agent folder.
Check: The container stays Running, the log has no relevant error, and the health URL returns {"status":"ok"}.
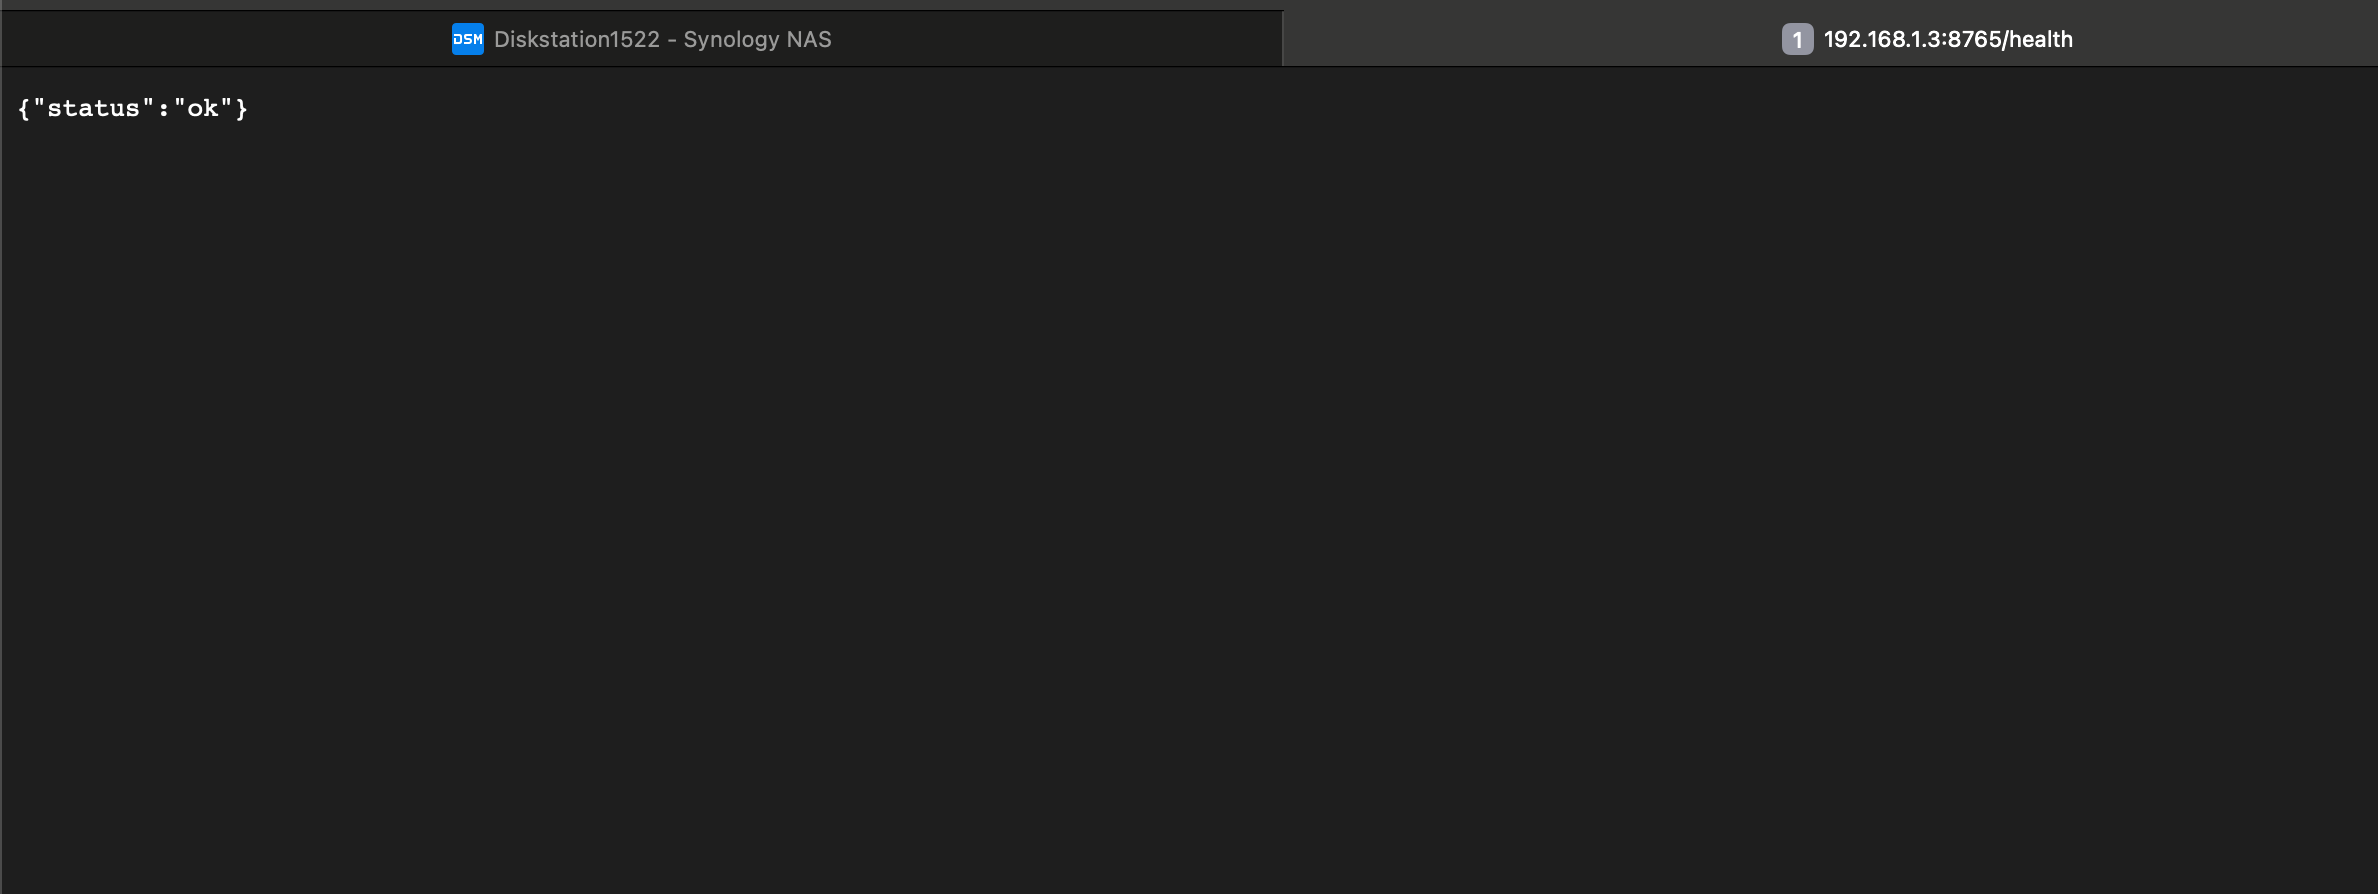
{"status":"ok"} on the local network.6. Connect Photos At Last on your computer
- Open the Photos At Last desktop app and go to Processing settings.
- Select Remote agent.
- Enter
http://YOUR_NAS_IP:8765as the agent address, replacingYOUR_NAS_IPwith your NAS’s local IP address. - Enter the API token from step 3.
- Choose Test connection, then save the settings.
- Select your source and target folders through the server folder picker.
The app uses container paths such as /photos and /inbox, not Synology host paths such as /volume1/photo. Start with a small test collection, review the planned changes, and verify the result on the NAS before processing a larger library. Keep your original files and backup until you have checked the result.
Check: Test connection succeeds and the folder picker shows the expected mounted folders.
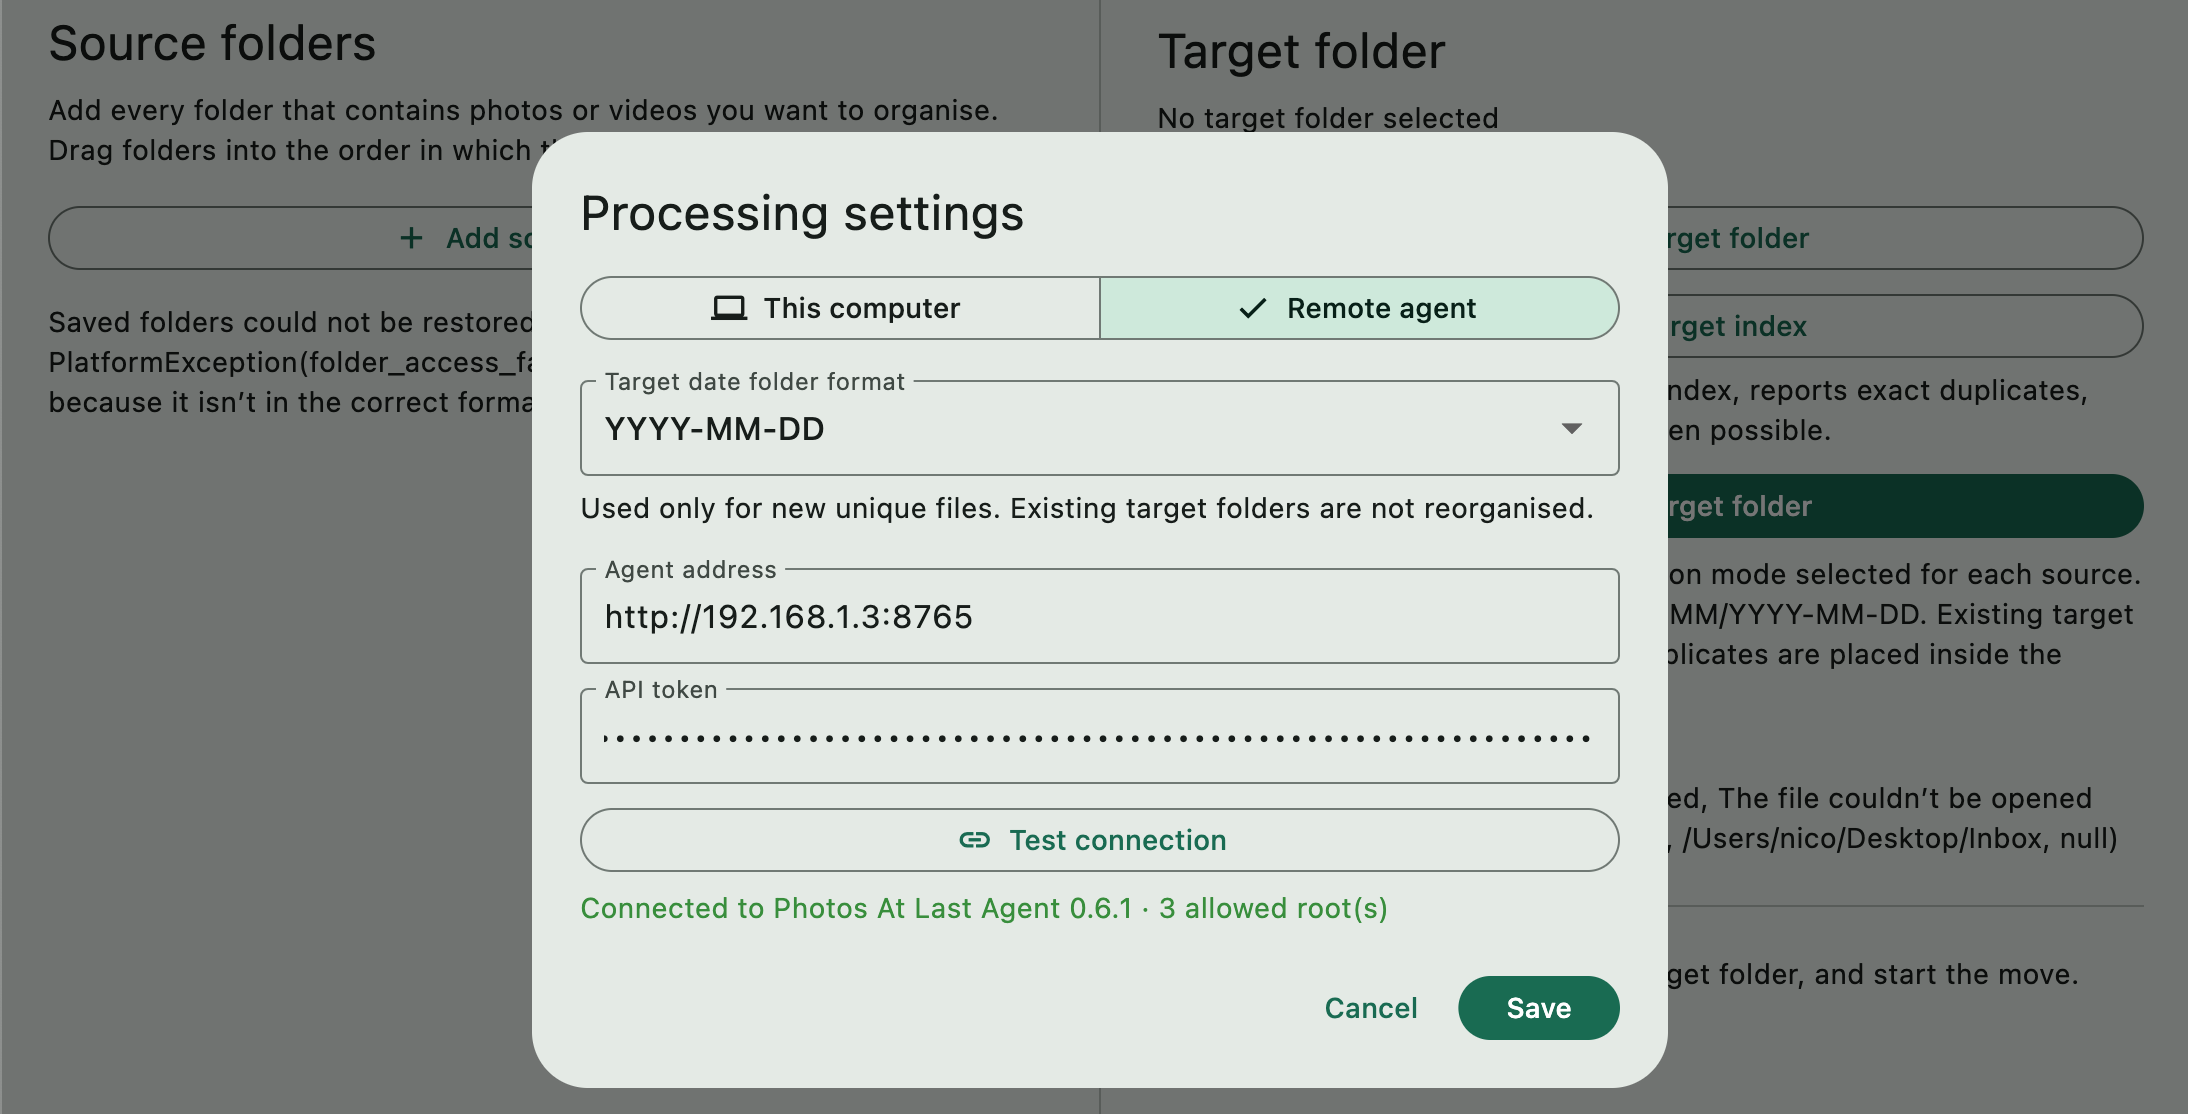
For advice on handling the wider collection, see how to organize photos across multiple hard drives.
Updating the agent later
- Download and extract the new agent package.
- Import its new
.tarimage in Container Manager. - Change
image:in the Project YAML to the new version tag. - Rebuild the Project and check that it runs and responds to the health check.
Keep /volume1/docker/photos-at-last-agent (or your equivalent persistent folder). The cache and target indexes stored there are reused by the replacement container.
Troubleshooting
- The image cannot be imported: Select the extracted
.tar, not the ZIP or a Docker Desktopimage.rawfile. Confirm the NAS reportsx86_64. - The container cannot access photos: Check DSM shared-folder permissions, the numeric
user:value, and the matchingvolumes:paths. - A folder is missing in the desktop folder picker: Confirm that it is mounted under
volumes:and its container path is listed inPHOTO_AGENT_ALLOWED_ROOTS. Restart the Project after changing the YAML. - The desktop app cannot connect: Check that the container is Running, the health URL works, the NAS IP is correct, DSM Firewall permits local TCP
8765, and both sides use the same API token.
If a problem remains, contact us with your DSM version, NAS model, and relevant error text. Do not send your API token, license key, or private photos.